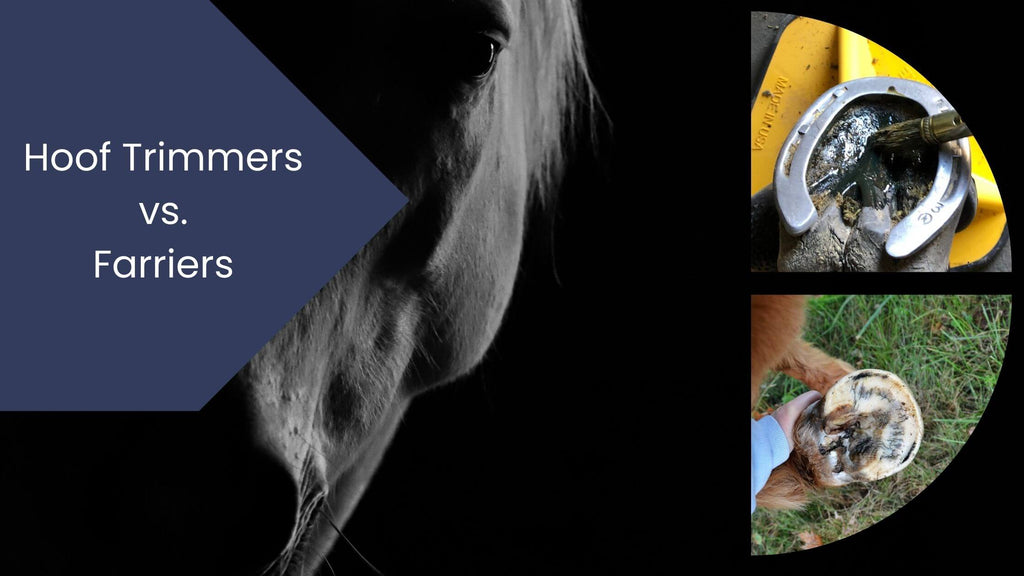
The Differences Between a Hoof Trimmer and a Farrier
When it comes to horse care, understanding the nuances of hoof maintenance is essential for every equestrian. Two key professionals in this realm are the hoof trimmer and the farrier. While both play crucial roles in maintaining a horse's hoof health, their approaches and expertise differ significantly. Let's delve into the distinctions between a hoof trimmer and a farrier, and why each might be the right choice for your equine companion.
Hoof Trimmer: The Natural Approach
1. Focus on Barefoot Horses:
A hoof trimmer specializes in maintaining the hooves of barefoot horses. Their primary goal is to trim the hooves in a way that mimics the natural wear and tear a horse would experience in the wild.
2. Philosophy and Techniques:
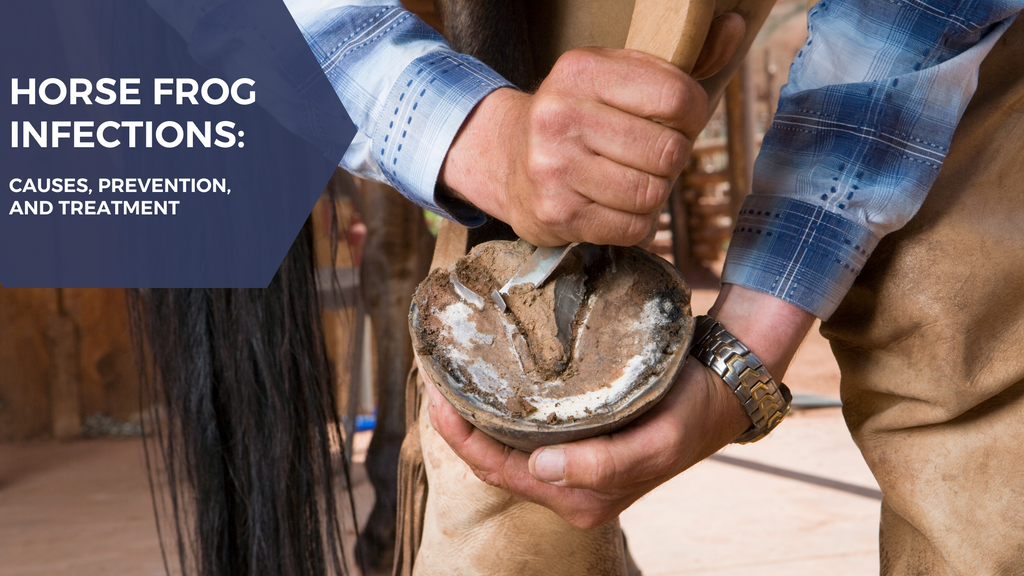
The philosophy behind hoof trimming is rooted in the belief that a horse's hooves, when left unshod, are healthier and more resilient. Hoof trimmers use specific techniques to balance the hoof and encourage natural growth patterns. They often employ tools such as rasps and nippers to shape the hoof, ensuring it remains functional and free from disease.
3. Specialized Knowledge:
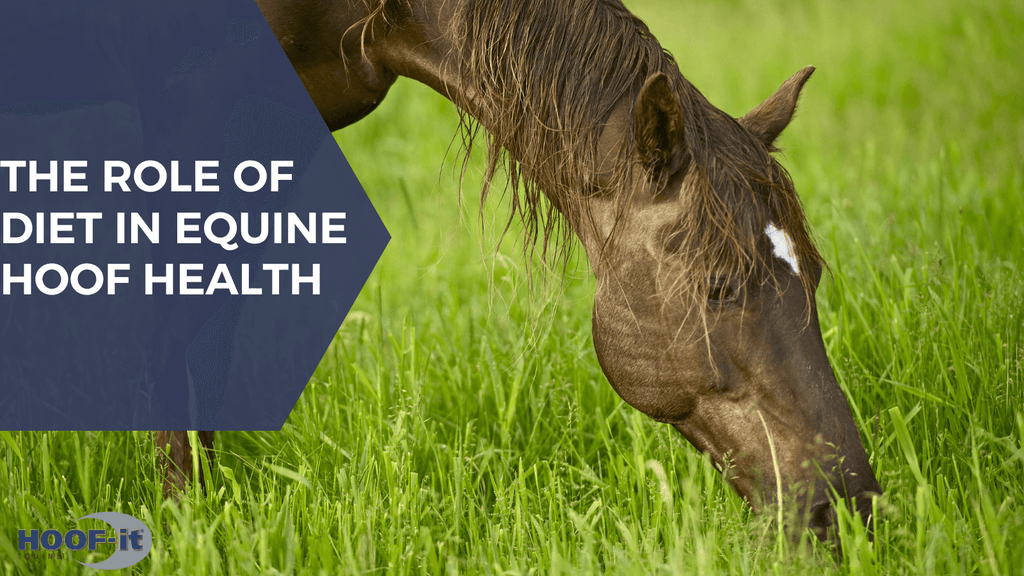
Hoof trimmers are usually well-versed in hoof anatomy and pathology, allowing them to address common hoof issues through natural methods. Their training often includes a deep understanding of how diet, environment, and exercise affect hoof health.
4. Holistic Care:
Many hoof trimmers advocate for a holistic approach to horse care, considering factors such as diet, exercise, and living conditions. They believe that a balanced lifestyle contributes significantly to the overall health of the hooves.
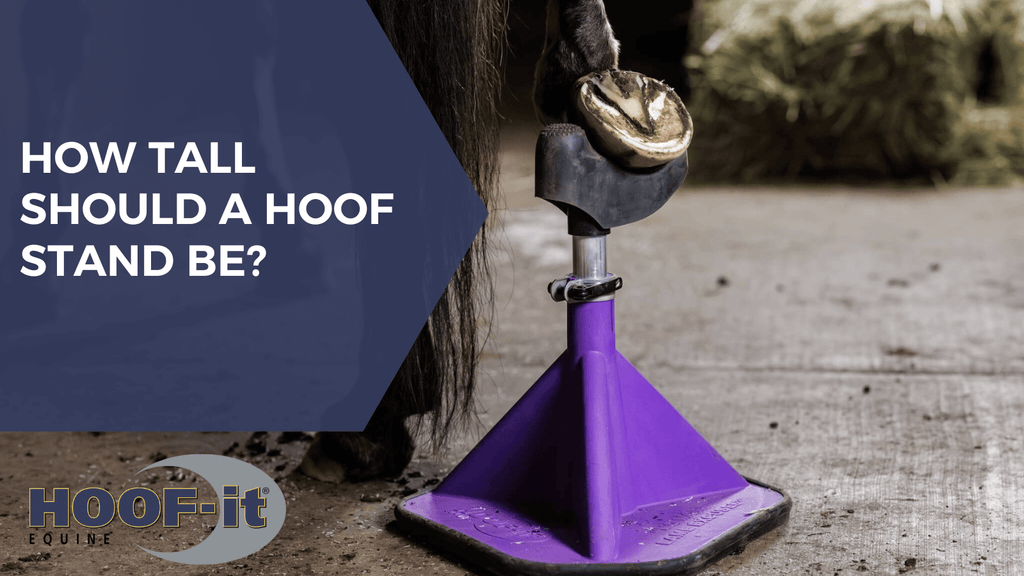
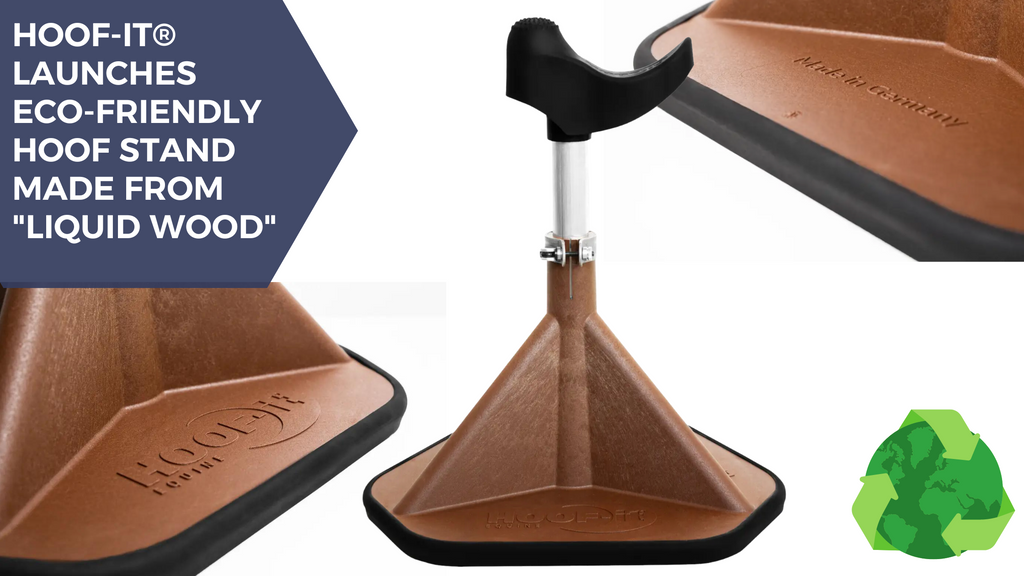
5. Use of Hoof Stands:
Both hoof trimmers and farriers utilize hoof stands to make their jobs easier on both the horse and the human. Hoof stands provide support for the horse's leg, allowing for a more stable and comfortable trimming process.
Farrier: The Traditional Craftsman
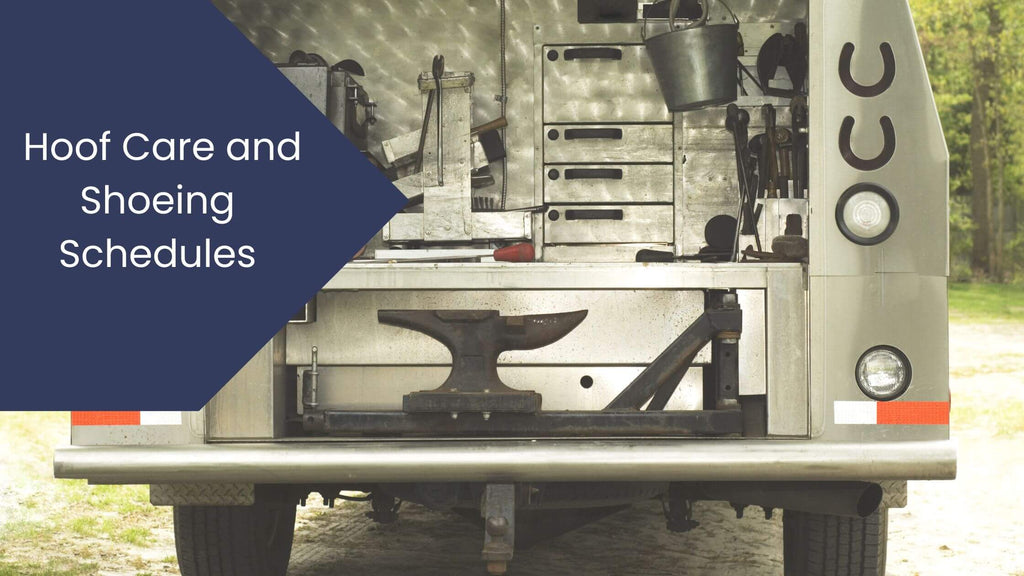
1. Shoe Application:
The most notable difference between a farrier and a hoof trimmer is that farriers are trained to apply horseshoes. This skill requires not only trimming the hoof but also shaping and fitting shoes to protect the hooves from wear and provide additional support, especially for horses that perform rigorous activities.
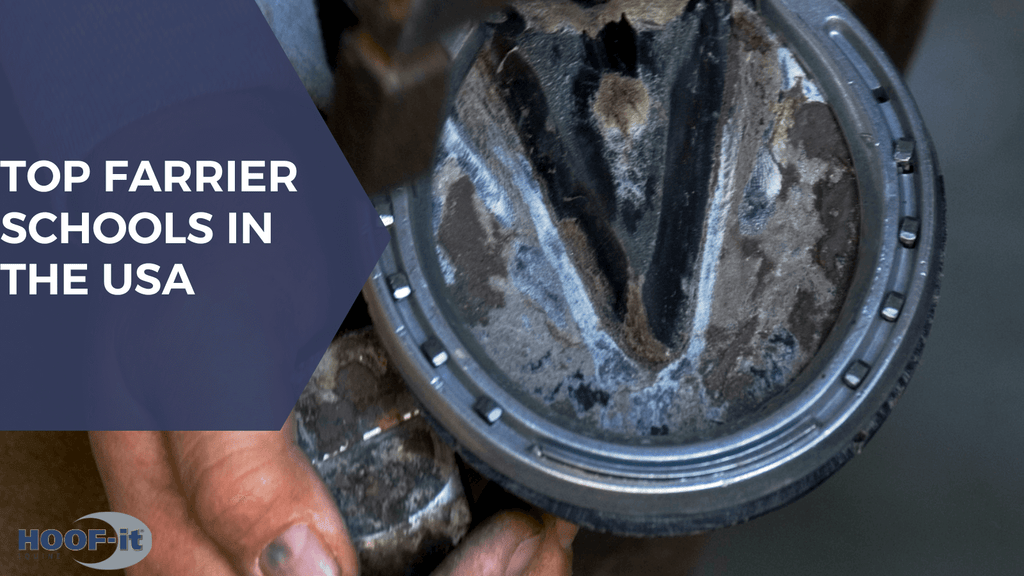
2. Comprehensive Training:
Farriers undergo extensive training that covers not only hoof trimming and shoeing but also forging and fabricating horseshoes. They must understand how to address various hoof and limb pathologies through corrective shoeing.
3. Therapeutic Expertise:
Farriers are often called upon to address more complex hoof issues that require therapeutic shoeing. This can include dealing with laminitis, navicular disease, and other structural problems that necessitate specialized shoeing techniques.
4. Custom Solutions:
A farrier’s ability to create custom shoes tailored to a horse’s specific needs is a significant advantage. This is especially crucial for performance horses, which might require specialized shoeing to enhance their athletic capabilities and protect them from injury.
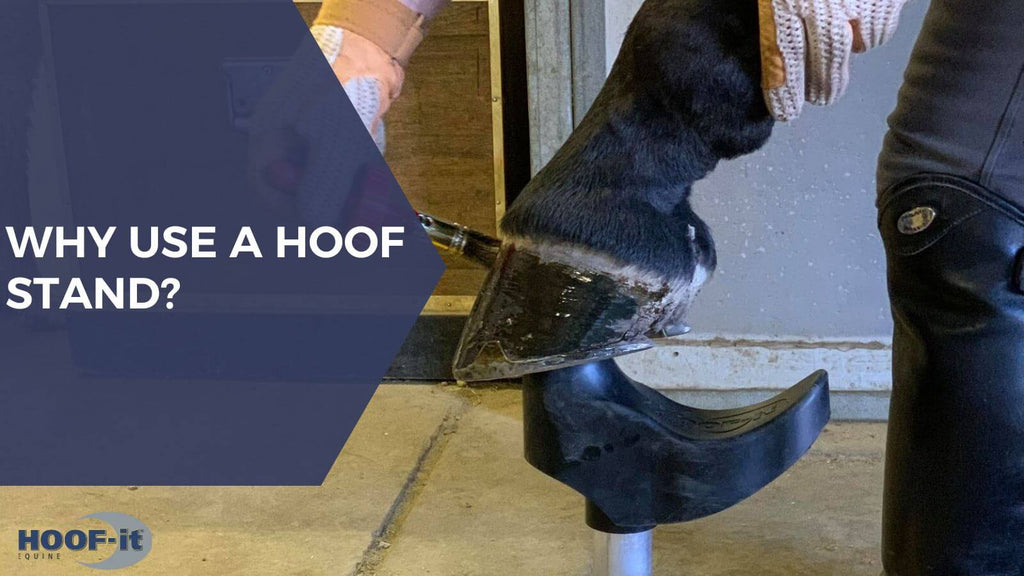
5. Use of Hoof Stands:
Like hoof trimmers, farriers also use hoof stands to provide support during the trimming and shoeing process. This not only makes the job easier but also ensures the horse remains comfortable and stable.
Choosing Between a Hoof Trimmer and a Farrier
1. Horse's Needs:
The choice between a hoof trimmer and a farrier largely depends on your horse's specific needs. For horses that thrive barefoot and have healthy, natural hooves, a hoof trimmer's expertise in natural hoof care might be ideal. Conversely, if your horse requires shoes for protection, support, or therapeutic reasons, a farrier's skills are indispensable.
2. Discipline and Environment:
Consider your horse's discipline and environment. Performance horses, such as those in jumping, dressage, or racing, often benefit from the additional support that shoes provide. Horses in less demanding disciplines or those kept in natural environments may do well with a barefoot approach.
3. Hoof Health and Condition:
If your horse has existing hoof issues or is prone to certain conditions, a farrier might be better equipped to provide the necessary corrective measures. However, for ongoing maintenance of healthy hooves, a hoof trimmer's approach can promote natural strength and resilience.
Conclusion
Both a hoof trimmer and a farrier play vital roles in equine hoof care. Understanding the differences between their approaches can help you make informed decisions about your horse's hoof health. Whether you opt for the natural philosophy of a hoof trimmer or the traditional craftsmanship of a farrier, the key is to choose the professional whose skills align best with your horse's needs. By doing so, you'll ensure your equine companion's hooves remain healthy, strong, and ready for any adventure.