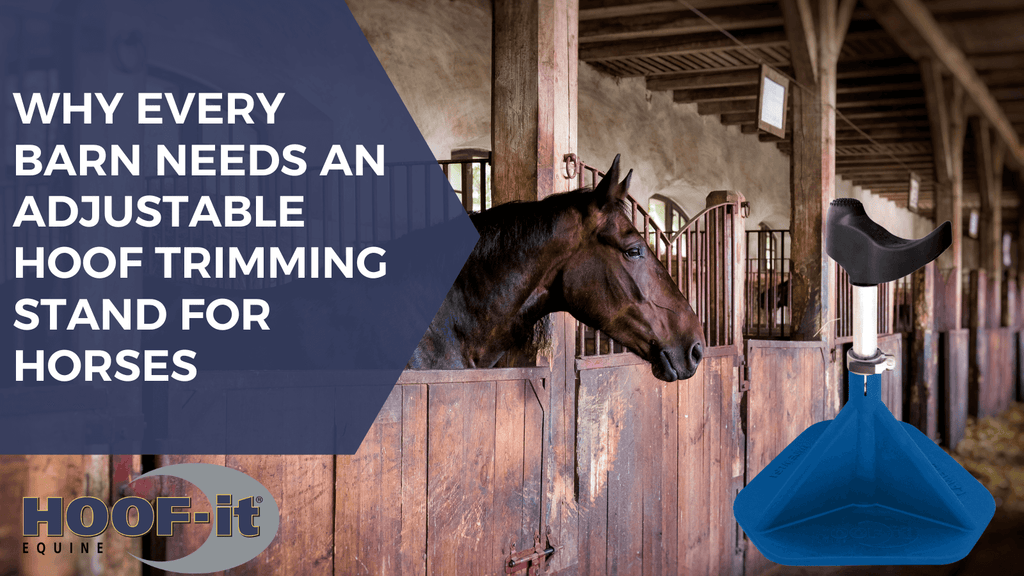
Why Every Barn Needs an Adjustable Hoof Trimming Stand for Horses
Why Every Barn Needs an Adjustable Hoof Trimming Stand for Horses
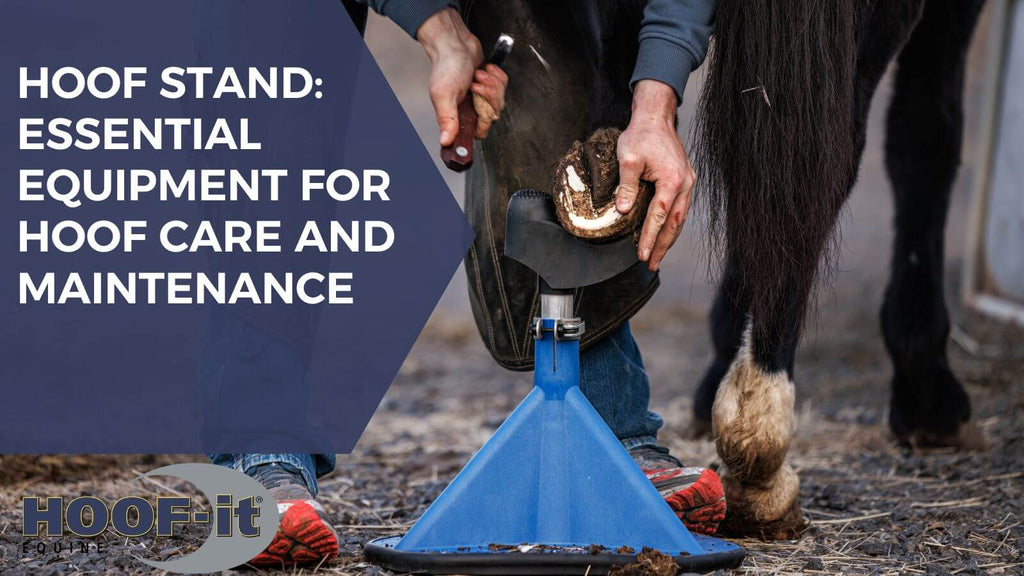
If you’ve ever tried to trim your horse’s hooves without the right setup, you know the struggle. Wobbly knees, shifting weight, and a 1,000-pound dance partner who isn’t always in the mood to cooperate. Enter the adjustable hoof trimming stand for horses—a total game-changer in your grooming kit.
Whether you're a seasoned farrier or a hands-on horse owner managing routine care, having a reliable hoof stand isn’t a luxury. It’s a necessity.
What Makes an Adjustable Hoof Stand So Essential?
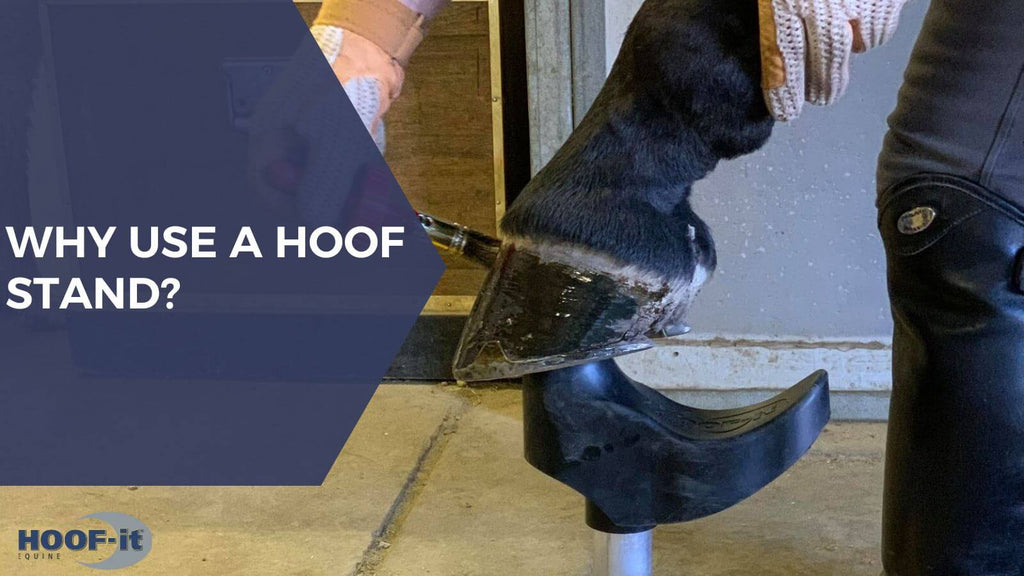
First, let’s talk comfort and safety—for you and your horse.
A good adjustable hoof trimming stand helps you maintain better posture while you work, so you’re not crouched over or wrestling for balance. This reduces back strain and fatigue, especially during long trimming sessions or when you’re working with multiple horses.
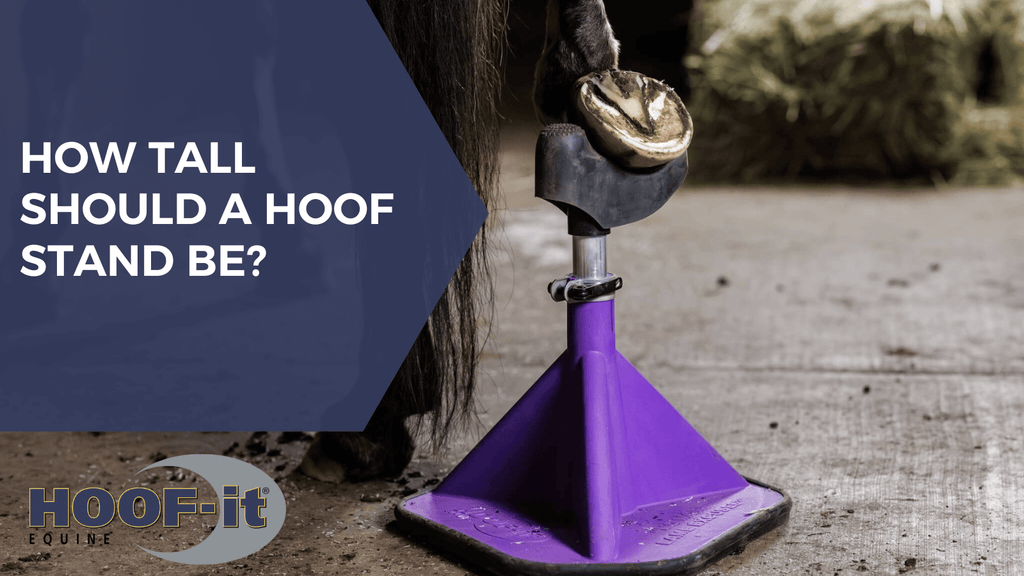
But here’s the real magic: adjustability. Every horse is different. From the tiny hooves of a pony to the dinner-plate-sized feet of a draft horse, a stand that adjusts in height and cradle position makes hoof care faster, safer, and more precise.
Key Features to Look For
When shopping for an adjustable hoof trimming stand for horses, don’t just grab the first one you see. Look for these must-haves:
-
Height Adjustability: Make sure it can be raised or lowered to suit both front and hind hooves. Bonus points for quick-release pins or easy-turn knobs.
-
Durable Construction: A solid base and non-slip footing are crucial. Horses move. Your stand shouldn’t.
-
Interchangeable Holders: Cradles for hind feet and post tops for front feet offer more control and comfort.
-
Portability: Lightweight but sturdy designs are ideal for farriers on the move or barns short on storage space.

Meet the HOOF-it® Adjustable Hoof Stand
If you're ready to upgrade your hoof care setup, the HOOF-it Adjustable Hoof Stand is worth a serious look. Designed with both professionals and DIYers in mind, it checks every box:
-
Easy-to-use adjustable height mechanism
-
Wide, stable base that keeps it steady on uneven barn floors
-
Comfortable rubber cradle for hind hooves
-
Lightweight and durable design built to last through season after season
It’s not just a tool—it’s a barn essential.
https://youtube.com/shorts/ZUe57Pk2JUs?si=Ih5rVJN37hX99LLn
A Few Pro Tips

-
Let your horse get used to the stand before diving into trimming. Let them sniff it, touch it, and settle.
-
Use a hoof jack pad
-
for extra grip if your floor is slippery.
-
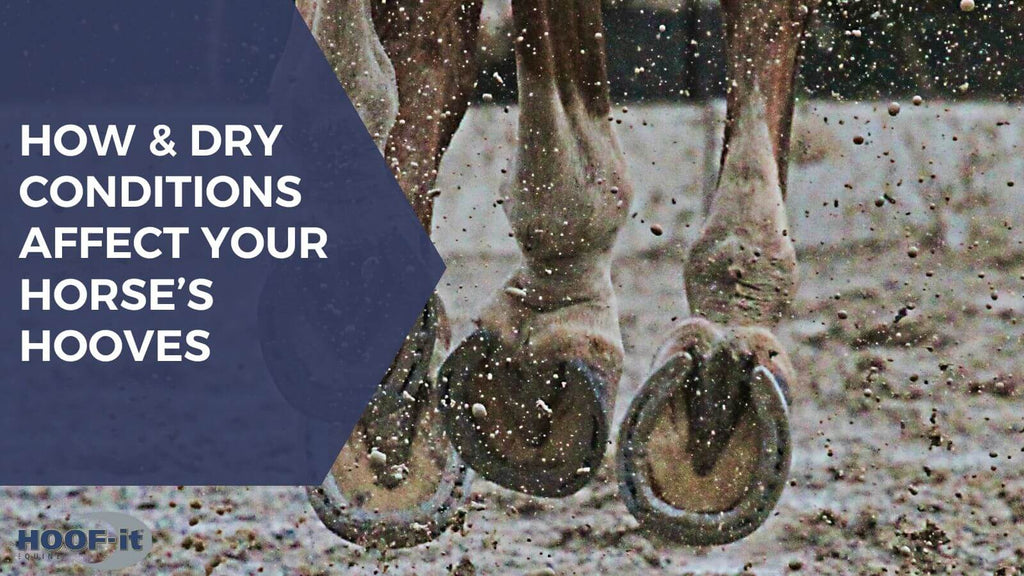
Clean the stand after each use to keep it in top shape—especially if you're working in muddy conditions.
Final Thought
An adjustable hoof trimming stand for horses might seem like a small piece of equipment, but it can make a huge difference in your daily horse care routine. Less stress, fewer aches, and a safer, smoother experience for everyone involved. Your back (and your horse) will thank you.